Introduction
When a display lighting project underperforms, people often blame the products.
“Maybe we should have bought higher-CRI lights.”
“Maybe the fixtures weren’t strong enough.”
But in real projects, many still fail even when the products are really good.
At Chiswear, we see this pattern often: well-made LED showcase lighting, solid specs on paper, and still… flat jewelry, harsh reflections, or tired-looking displays. The problem is rarely the light alone. It’s usually how the light, space, power, and people all fit together.
This guide breaks down the hidden reasons “good” products still fail—and how to avoid those traps in your next project.
What Makes a Display Lighting Product Truly “Good”?
You might think a product is “good” because:
- It has a high CRI
- It looks slim and premium
- It uses famous LED brands
- It has flexible mounting or beam options
All of these help, but they don’t guarantee success on their own.
A good display light usually has:
- It has a high CRI (Color Rendering Index).
- Balanced color temperatures at 3000K, 4000K, and 6000K. They match your brand mood and material tones.
- Stable optics and beam angles help you shape light. Not just blast brightness at random.
- Proper voltage and drivers (often 12V or 24V for cases and cabinets).
For example, a compact magnetic track light gives flexible, focused lighting for jewelry display showcase lighting and museum cases when paired with the right beam angle and color temperature.
But here’s the catch: even the best magnetic track light fails if it’s aimed at the wrong surface, pushed with the wrong driver, or crammed into a cabinet with heavy reflections.
Quick View: What Does “Good” Look Like?
|
Feature |
What It Means in Practice |
|
High CRI (90+) |
Gems, metals, fabrics, and skin tones look “real” |
|
Tuned color temperature |
Warm for luxury and wood, neutral for art and fashion |
|
Stable beam options |
Narrow beams for sparkle, wider beams for soft wash |
|
Flexible mounting (track / pole) |
Easy to aim and adjust over time |
|
Safe low-voltage system |
Safer in glass cases, easier for continuous operation |
How Do Unclear Design Goals Lead to the Wrong Lights?
One of the biggest reasons projects fail is simple: no one wrote down the lighting goal.
People rush product decisions:
- “We need bright lights; send options.”
- “We want luxury; give us the expensive track.”
But they skip questions like:
- Who is the viewer? Museum visitor? Luxury shopper? Casual passer-by?
- What should they feel? Calm, excited, focused, wowed?
- What is the hero? The watch, the ring, the artwork, or the brand story?
Without clear goals, the wrong product feels “right” at first, but fails on the floor.
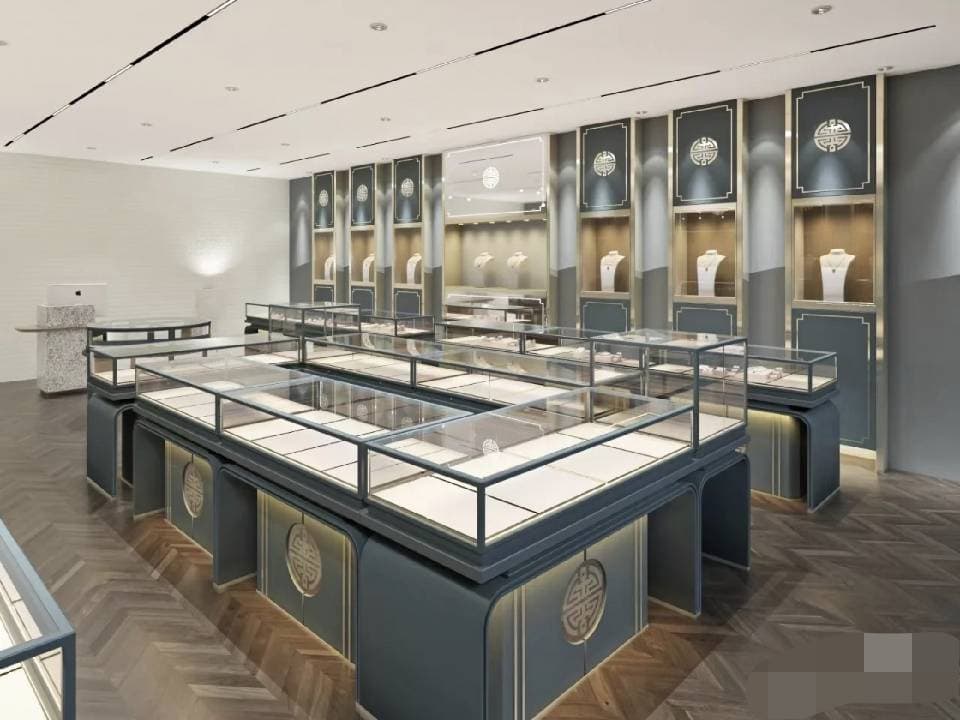
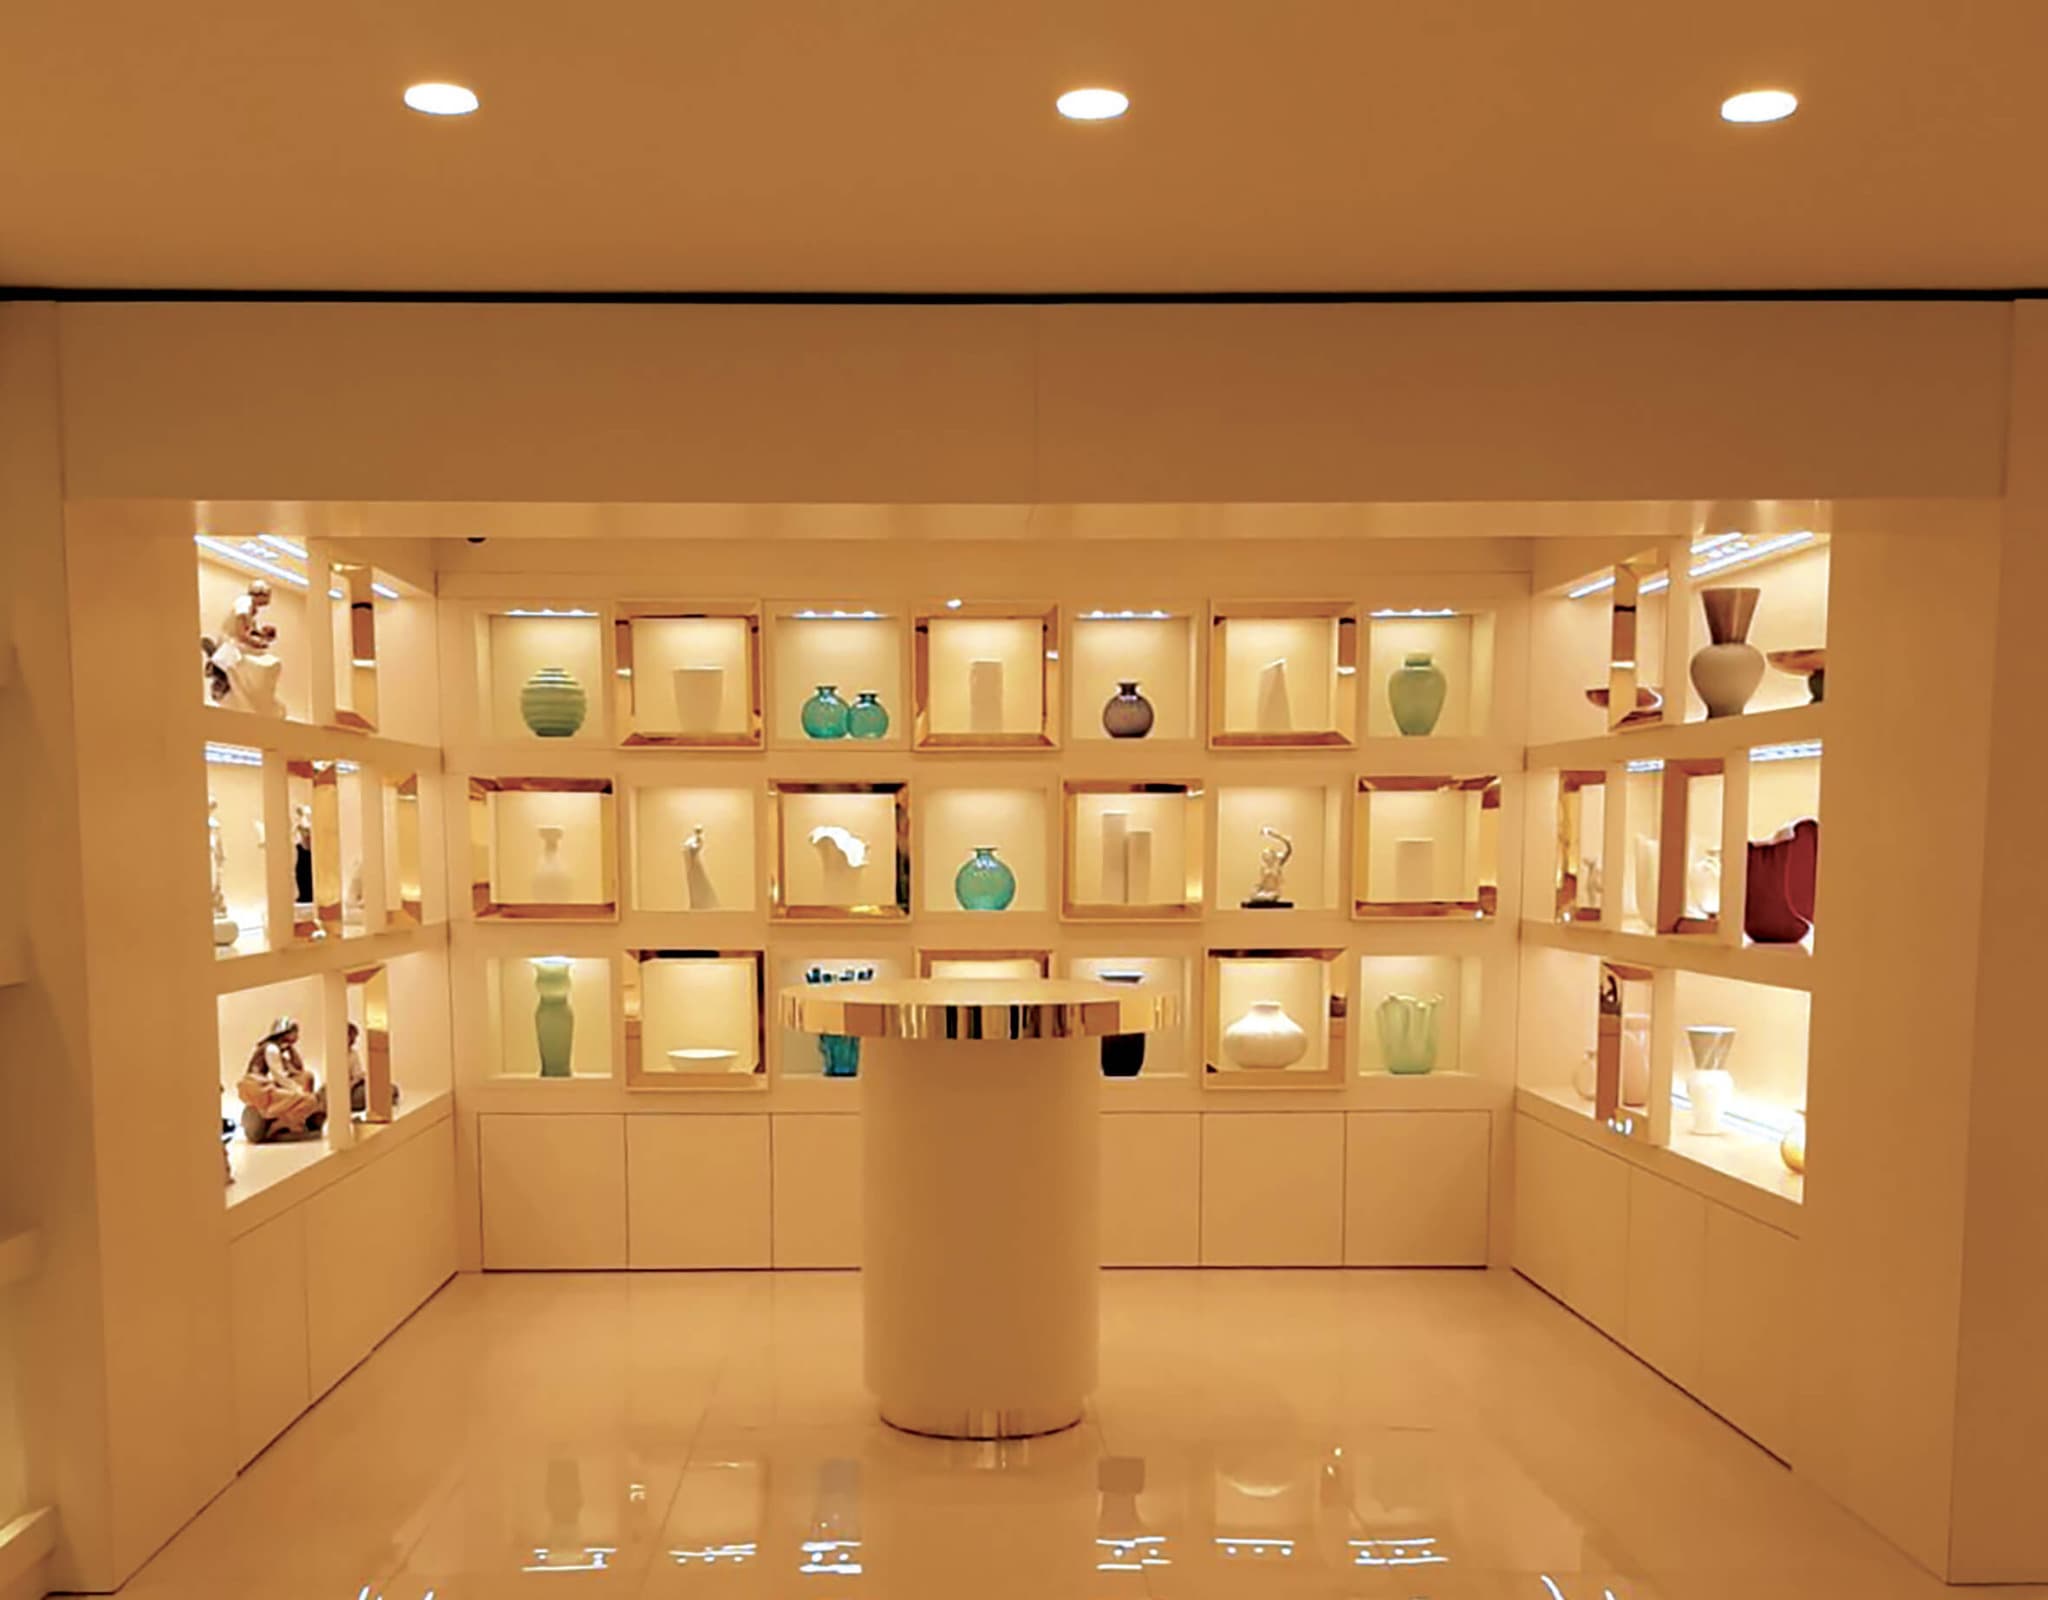
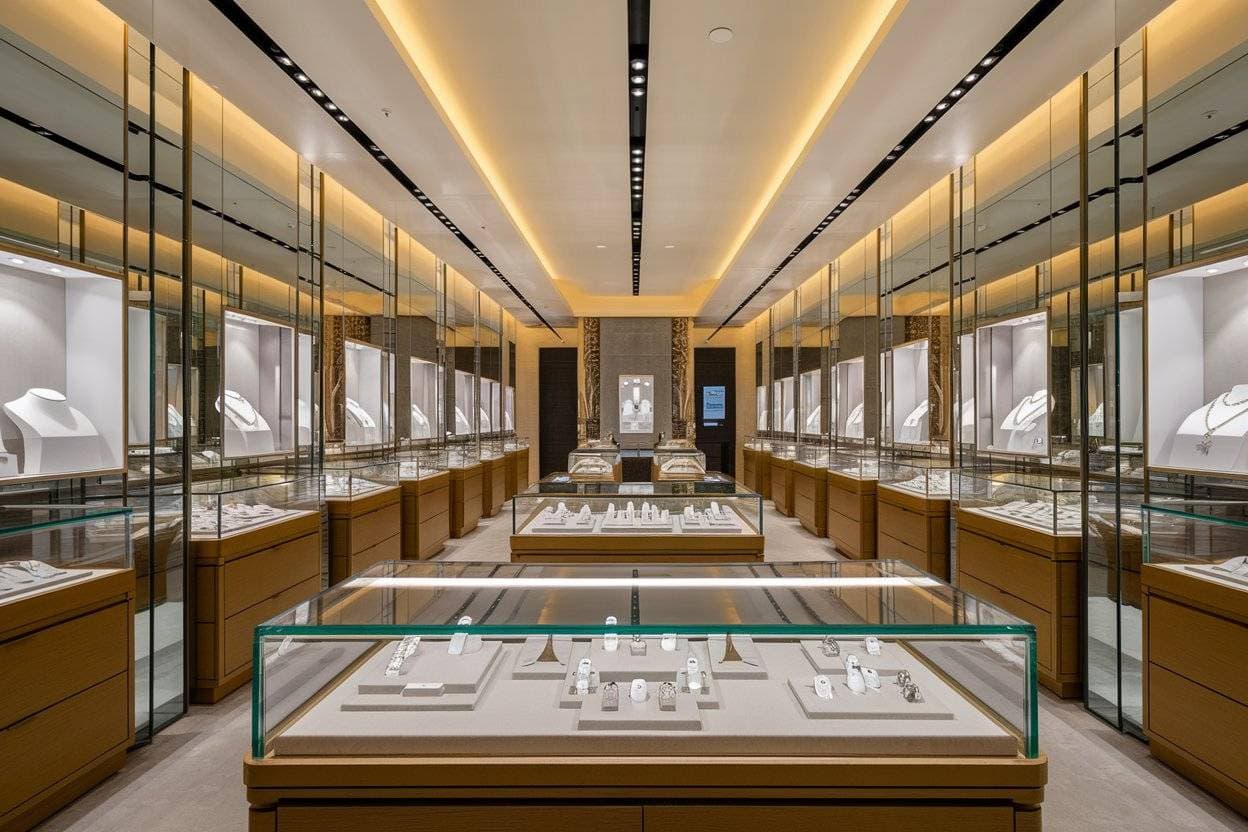
How Can Space, Materials, and Reflections Ruin a Great Fixture?
Light never travels alone. It always meets glass, wood, metal, fabrics, and walls.
You can install premium magnetic track lighting in a showcase, but if it hits shiny glass at the wrong angle, all the customer sees is a white streak of glare instead of a ring.
Key troublemakers:
- Glass: front reflections, mirror-like glare, double images
- Dark wood: eats light and makes the space feel dull
- High-gloss metal: throws bright flashes where you don’t want them
- White floor or back panel: bounces light and steals focus from the product
Conservation and museum groups even warn that too much light can physically damage sensitive objects, which is why many guidelines suggest keeping fragile pieces around 50–100 lux inside cases.
How Materials Change Light Behavior
|
Material / Finish |
Risk You’ll See in Real Life |
Simple Fix You Can Try |
|
Clear glass doors |
Glare spots, light “stripes” |
Aim beams at products, not glass; adjust angle |
|
Dark wood shelves |
Products look dull and “sucked in” |
Add extra heads or soften with wider beams |
|
Shiny metal stands |
Random bright flashes |
Use honeycomb louvres or shift beam angle |
|
White glossy backs |
Background brighter than the product |
Dim background heads; narrow beams for hero item |
What Happens When You Ignore Beam Angles and Light Direction?
Think of beam angle as the “shape” of your light. If you ignore it, you get:
- Hotspots on one item and deep shadows on the next
- Light spilling on the floor instead of the necklace
- Bright centers and dark edges on shelves
A typical magnetic track light system or Mini showcase track lighting gives you narrow, medium, and wide beams.
Why Do Power, Drivers, and Controls Make or Break the System?
Even the most beautiful magnetic track layout will fail if the power side is wrong.
Typical hidden problems:
- Under-sized drivers: Too many heads on one driver cause flicker. They fail early.
- Incompatible dimming: The fixtures need 0–10V. This site only has triac dimmers.
- Poor wiring routes: Long runs lower voltage. Lights become dim and uneven.
Most Chiswear case lights and pole lights run on low-voltage drivers, often 12V or 24V, to stay safe and stable. They still need the right driver type and careful load planning to work well.
Power and Control Problems in Simple Words
|
Technical Miss |
What Staff See Day to Day |
Prevention Tip |
|
Wrong driver type |
Lights buzz, flicker, or don’t dim smoothly |
Match driver to fixture spec (voltage + dimming method) |
|
Overloaded power supply |
Some heads go dim or cut off |
Leave safety margin on driver wattage |
|
Mixed dimming systems |
One zone dims, another stays bright |
Pick a single dimming standard (0–10V, DALI, etc.) per area |
|
Long cable runs |
Lights farther away look weaker |
Use thicker cable or shorten runs on magnetic track lighting layout |
How Do Installation and Maintenance Choices Affect Long-Term Results?
A light is not just a product. It’s part of a system that must live in the real world.
Projects often fail slowly because of installation and maintenance mistakes:
- Fixtures are mounted where staff can’t reach them.
- No one keeps a record of which model went where.
- The team cleans glass often but never wipes dust off lenses.
- Replacements are bought “by eye”, so color temperatures stop matching.
Over time, the display starts to look patchy. One cabinet is warm, another is cool, one pole is dim, another is new and bright.
Why Is Post-Installation Tuning the Step Most Teams Skip?
Many teams think the project is “done” the day the electrician leaves. In reality, that’s when the real work of tuning should start.
Without a post-install check:
- Some beams hit glass, not products.
- One shelf is brighter than the rest.
- A hero piece sits in shadow while a price tag glows like a spotlight.
Conclusion
In the end, most display lighting projects don’t fail because the products are “bad” — they fail because the goals, space, power, and fine-tuning were never fully thought through.
When you’re clear about what you want the customer to see and feel, choose the right beam angles and color temperature, respect glass and materials, and plan power, installation, and maintenance from the start, your lights finally do what they were meant to do.
External Links:
- https://en.wikipedia.org/wiki/Color_rendering_index
- https://en.wikipedia.org/wiki/Color_temperature
- https://www.ledvance.com/en-us/professional-lighting/insights/blog/lighting-basics/light-beam-angle
Post time: Feb-03-2026