Introduction
A photocontrol that isn’t working correctly wastes time and energy in equal measure. Lights staying on through the day, failing to switch on at night, or cycling on and off repeatedly.
All of these get reported as faults, and most of them can be diagnosed on site in minutes without any professional equipment.
These five tests cover the most common failure scenarios and can be performed by anyone on the installation or maintenance team.
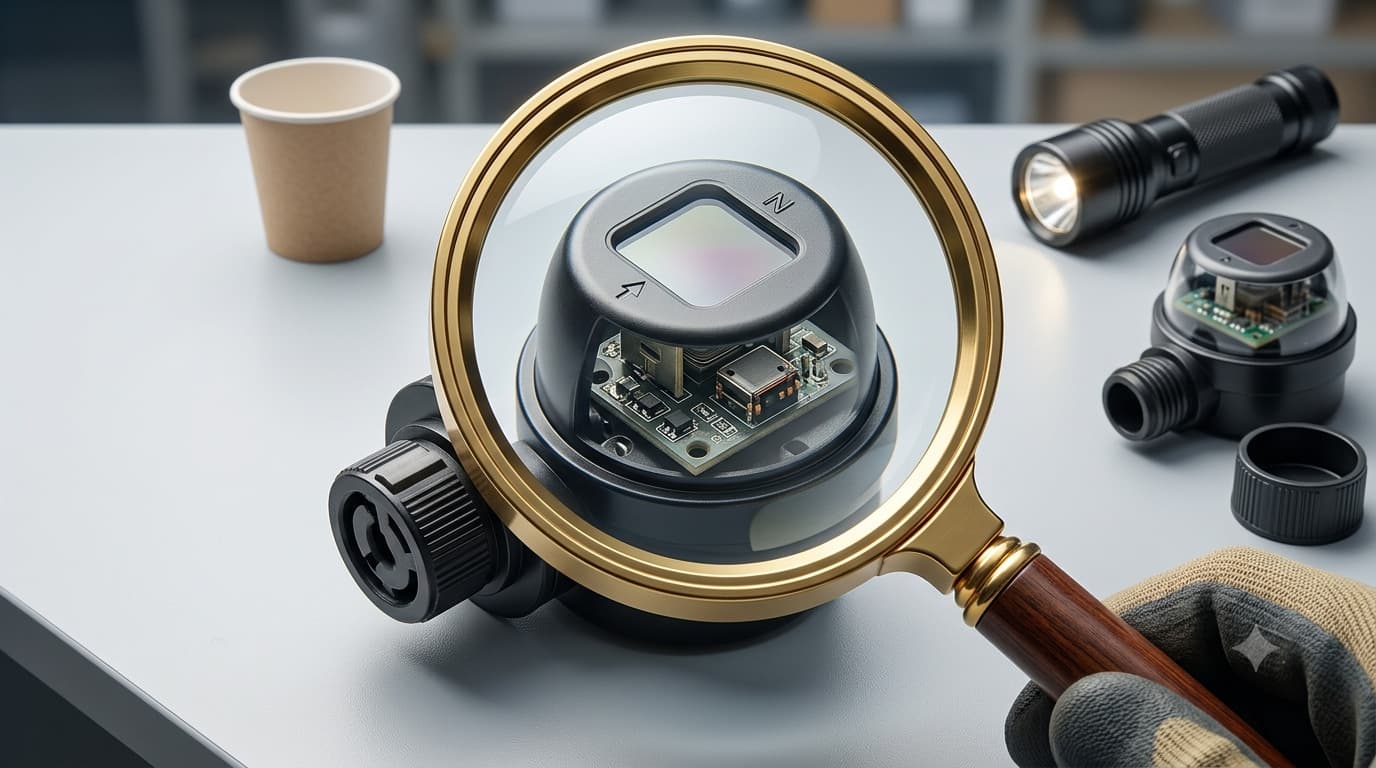
What Are the Five Quick Field Tests?
Five practical methods cover the main ways a photocontrol can fail, ranging from a no-tool cover test through to a shorting cap circuit check.
Test 1: The Cover Test
Completely cover the photosensitive window with a palm, black cloth, tape, or a paper cup, then observe whether the connected load switches on within the time delay period.
This is the fastest diagnostic available and requires nothing but your hand. If the load switches on when the sensor is covered and switches off when uncovered, the photosensitive element is responsive and the basic sensing circuit is working.
If nothing happens when the sensor is covered, the problem is either in the sensing circuit, the wiring, the relay, or the power supply. This test rules out sensor failure as the cause quickly and cheaply before anything else is done.
Test 2: The Flashlight Test
Shine a flashlight or other strong light source directly at the photosensitive window and observe whether the load switches off promptly in response to the elevated lux reading.
This tests sensitivity in the opposite direction from the cover test. The flashlight simulates daylight hitting the sensor, and the load should switch off within the delay period if the sensing circuit is functioning correctly.
A sluggish response, no response, or a response that only triggers when the flashlight is held very close indicates reduced sensitivity, a contaminated lens, or early-stage sensor degradation. The test is most useful during the day when the ambient light level is too bright to test the on-response manually.
Test 3: The North Arrow Test
Gently twist the photocontrol in its NEMA receptacle to face different directions and observe whether its switching behaviour changes with orientation.
The sensor should face north (south in the Southern Hemisphere) to receive consistent, unobstructed sky light. If twisting the unit away from its current position causes the switching behaviour to change or stabilise, the original orientation was the problem.
This test is especially useful when a photocontrol appears to be switching at the wrong time but passes the cover test. The most common cause is the sensor facing a reflective surface, a nearby light source, or a position shaded by an obstruction during part of the day.
Test 4: The Swap Test
Replace the suspected faulty photocontrol with a confirmed working unit of the same specification and observe whether the fault disappears.
If the replacement unit operates correctly in the same position, the original photocontrol has an internal fault. If the fault persists with the replacement, the problem is in the fixture, wiring, or installation position rather than the photocontrol itself.
For twist-lock models, the swap takes under a minute with no tools. This test is widely used in maintenance programmes because it gives an immediate, unambiguous answer on whether the photocell is the cause of the problem without any circuit analysis or measurement.
Test 5: The Shorting Cap Test
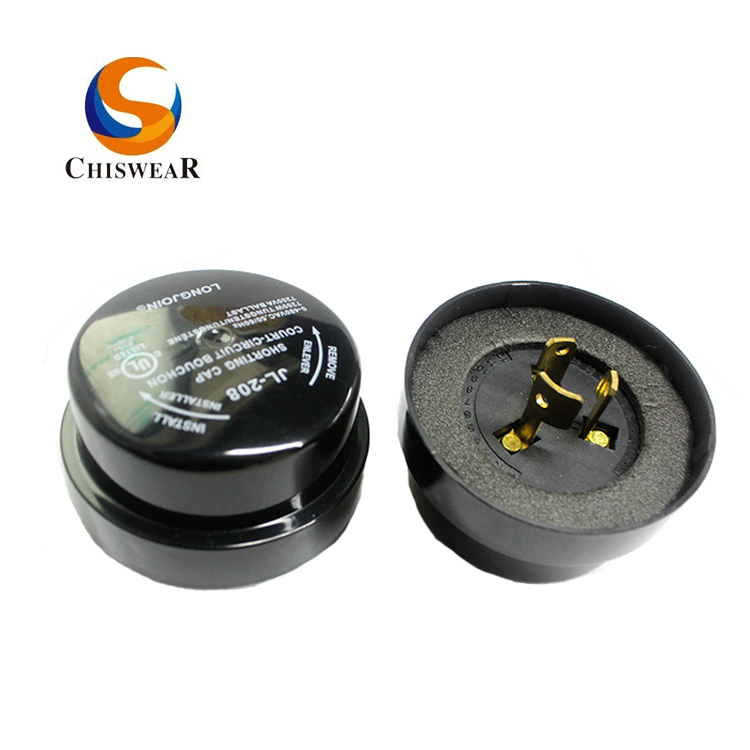
Install a shorting cap over the NEMA receptacle to bypass the photocontrol circuit and force the connected load on, confirming whether the fixture and wiring downstream of the receptacle are functional.
The Long-Join JL-208 shorting cap connects across the receptacle terminals to simulate the closed-relay state of a functioning photocontrol. If the fixture comes on with the shorting cap installed but not with the photocontrol installed, the photocontrol is faulty.
If the fixture doesn’t come on even with the shorting cap, the problem is in the fixture, driver, or wiring. This test is particularly useful for diagnosing whether a dark fixture is caused by a failed photocell or by a failed LED driver; a distinction that determines whether you need to replace one component or the other.
How Do the Five Tests Compare?
|
Test Method |
Operation Ease |
Suitable Conditions |
Fault Judgment Criteria |
Testing Focus |
| Cover Test | ★★★★☆ | No tools needed | Whether the switch operates correctly when covered | Photosensitive element and light response |
| Flashlight Test | ★★★☆☆ | Requires flashlight or strong light | Whether switch responds under strong light | Sensitivity detection |
| North Arrow Test | ★★★★☆ | During on-site installation | Changes in photocontrol action upon turning | Effect of installation angle and light direction |
| Swap Test | ★★★☆☆ | Requires a known good spare | Fault disappears after replacement | Quickly troubleshoot photocontrol hardware faults |
| Shorting Cap Test | ★★☆☆☆ | Requires shorting cap tool | Direct forced switching to validate internally | Internal switch circuitry and control logic confirmation |
For twist-lock photocontrols, all five tests can be performed at the fixture without any wiring disconnection. Long-Join’s JL-208 shorting cap is available on Chiswear’s photocell accessories pages
Test Photocells for Faults
A photocontrol fault doesn’t require professional instruments to diagnose. Working through these five diagnostic tests in order covers the vast majority of field faults and tells a maintenance team exactly what needs replacing before anyone orders a part or books a second site visit.
Frequently Asked Questions
Q1: When is the cover test recommended?
Any time a photocontrol is suspected of responding abnormally to ambient light. It is the first test to run because it requires no tools, takes under a minute, and immediately confirms whether the photosensitive element is responsive.
Q2: How do you test sensitivity using a flashlight?
Shine a strong light directly at the sensor window and watch for the load to switch off within the delay period. A slow response or no response to a flashlight held at close range indicates reduced sensitivity or a contaminated lens.
Q3: What is the purpose of the north arrow test?
To confirm that the sensor’s orientation is not the cause of incorrect switching. Rotating the unit to face different directions reveals whether a reflective surface, a nearby light source, or a shaded position is causing a false ambient reading.
Q4: Why is the swap test called the fastest diagnostic method?
Because it gives an unambiguous answer in under a minute on twist-lock units. Either the replacement works and the original is faulty, or the replacement shows the same fault and the problem is elsewhere. No measurement or analysis is needed.
Q5: What does the shorting cap test detect?
It isolates the photocontrol from the downstream circuit by simulating the closed-relay state. If the fixture works with the shorting cap but not with the photocontrol installed, the photocontrol is faulty. If the fixture doesn’t work with the shorting cap either, the fault is in the fixture, LED driver, or wiring.
External Links
Post time: Jul-16-2026